Great reasons to choose Admiral Home Insurance
Three cover levels
Take control by choosing the right level of cover for you and your family.
Flexible add-on options
Personalise your cover with our optional extras to suit your needs.
5 Star rated cover
Our Platinum cover has Defaqto's highest rating of 5 Stars.
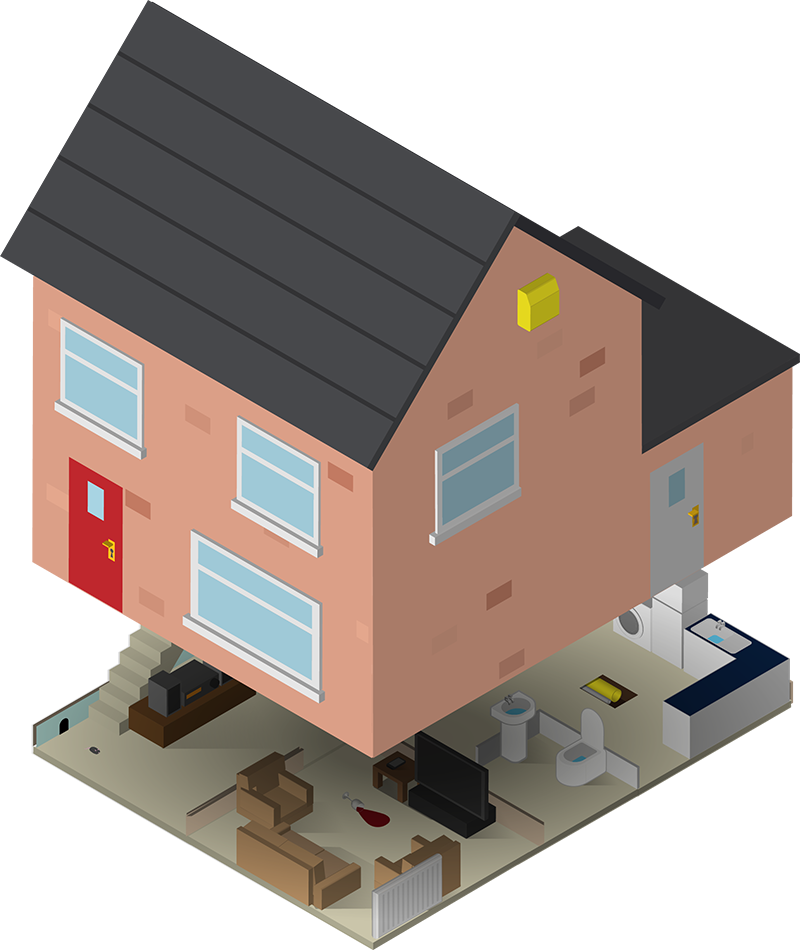
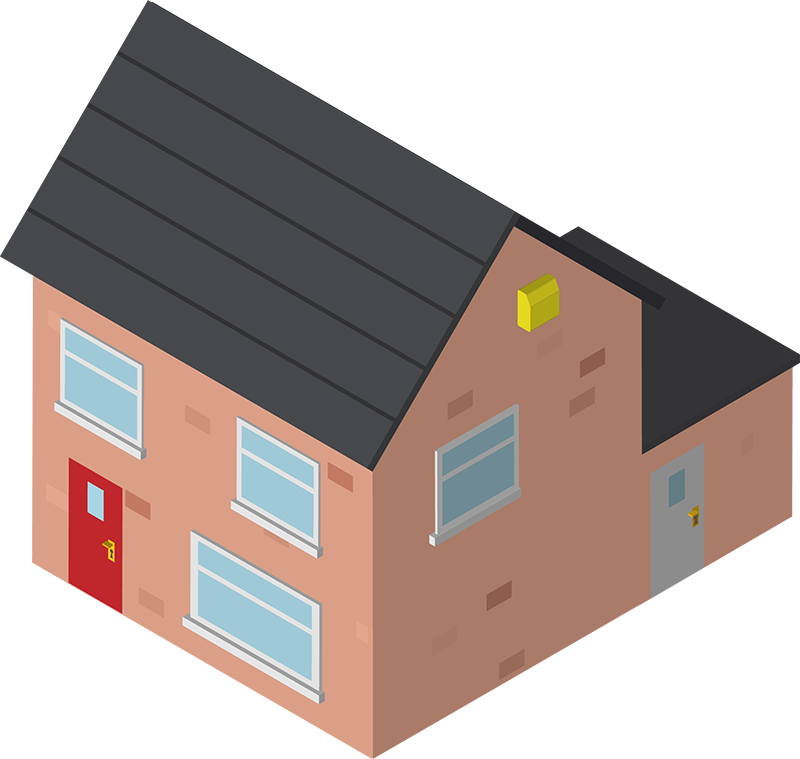
What’s home insurance?
Home insurance (or house insurance cover) financially protects your home. It can help you and your family if you experience events like theft, fire and floods.
Home insurance has two parts:
Buildings insurance covers the bricks and mortar, contents insurance covers your belongings. You can combine both.
What does home insurance cover?
Home insurance typically covers damage caused by:
Storm
Protection against severe weather as long as your home is well-maintained
Fences, gates and hedges are not covered.
Find out more about what to do during a storm and what to check afterwards on our storm weather hub.
Escape of water
We’ll help with burst pipes and other plumbing damage
Theft or vandalism
Safeguarding you from theft and damage caused by criminal activity
Fire and smoke
We’ll support you if fire or smoke damages your home
Falling trees and branches
Claim for the damage falling trees and branches caused to your home
Collisions
We cover your home against collisions involving vehicles, an aircraft and animals
What isn't covered?
Here are some common things home insurance doesn't cover:
- damage caused by wear and tear
- damage due to a lack of maintenance
- breakdown of appliances
- storm damage to fences, gates and hedges
- deliberate damage
- loss or damage caused by pests
- loss or damage caused by pets through chewing, scratching, tearing, fouling or vomiting
- claims where the excess is more than the value (for example, if the damage to an electrical appliance is £100 but you have a £200 excess, you can't make a claim)
- claims where the home is left unoccupied for longer than the 'days unoccupied limit' and you haven't informed us beforehand
However, always refer to your policy documents and check on MyAccount to see what is and isn't covered, plus your excess limits before contacting us.
For more information on what's covered read our policy book.
If you're an existing customer, please check MyAccount or your policy book to see your cover limits.
Comparing our cover levels
| Admiral | Admiral Gold |
Admiral Platinum |
|
|---|---|---|---|
| Unlimited buildings cover | |||
| 24-hour helpline | |||
| Bicycle cover |
£350 |
£350 |
£350 |
| Contents cover |
£75K |
£100K |
£150K |
| Alternative accommodation (Contents) |
£15K |
£20K |
£25K |
| Alternative accommodation (Buildings) |
£50K |
£75K |
£100K |
| Trace and access |
£5K |
£5K |
£10K |
| Personal Possessions cover | Optional | Optional |
£2K |
| Accidental Damage (Contents and Buildings) | Optional | Optional | |
| Home Emergency cover | Optional | ||
| Home Emergency Extra cover | Optional | Optional | |
| Family Legal Protection | Optional | Optional |
Which home insurance type is right for me?
Combined home insurance
Combined home insurance, often called home insurance, includes both buildings and contents cover on one policy. It's usually cheaper than buying buildings and contents separately.
Buildings
Buildings insurance covers the repair costs for damage to a home's structure and fittings. It also protects garages, outbuildings and anything else that's permanently fixed. It's designed to cover against damage caused by natural and manmade disasters. It's good for freeholders and is usually the bare minimum cover we recommend.
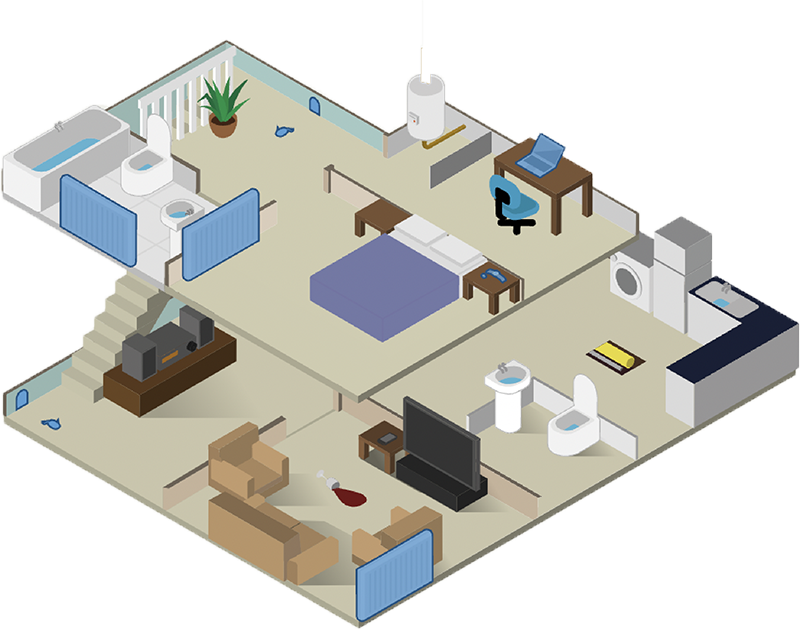
Contents
Contents insurance protects the belongings inside your home from theft, vandalism, fire and water damage. It’s usually the right option if you live in a flat or are a leaseholder.
Do I need home insurance?
Home insurance isn't a legal requirement, but it's recommended if you're responsible for a property's structure or its contents. Many mortgage providers require you to have home insurance when buying a property.
I'm a homeowner
As a homeowner you're responsible for damage to your property (if you're a freeholder) and its contents if you don't have insurance.
I'm a renter
Tenants Insurance, sometimes called renters insurance, protects your contents if you live in a shared home or flat. Your landlord usually covers your buildings insurance.
I'm a landlord renting my property
Landlord Insurance covers everything that buildings does, but it also covers matters like loss of rent if your property becomes uninhabitable due to damage or an accident.
I rent out my home short-term
Host Insurance is for homeowners who rent out their home on a short-term basis on sites like Airbnb.
How to claim on your home insurance
Read your policy book
Check the loss or damage is covered to avoid a rejection, plus any payable excess
Prepare your information
We need your policy number, incident date and the cause of loss or damage
Contact us to make your claim
Visit our make a claim page for our contact details or log into MyAccount
We may ask for original receipts, invoices or valuations to support your claim. If you’re claiming for theft or vandalism, contact the police first as we’ll need your Crime Reference Number to start the claim.
How to get a home insurance quote
Tell us a bit about yourself
We'll need to know your address, what cover you want (buildings, contents or combined), your name and date of birth.
Agree to your price
We'll show you assumptions we've made - check they're accurate and agree to your price.
Pick your add-ons
Choose an optional extra if it's right for you.
Choose your tier of cover
Decide if you need Admiral Cover, Gold or Platinum.
How we calculate your home insurance price
Here are a few rating factors that go into creating your home insurance premium.
- Your address - Where you live is important, and some homes are more at risk of severe weather, crime and other factors that impact your price.
- Your circumstances - Have you claimed before? All insurers look at your claims history when setting a price.
- Property type - Your home’s building materials and the type of building you live in can all influence what you pay. For example, if you have lots of rooms and higher-end materials, your property will cost more to rebuild or repair, which your price reflects.
- Security - Additional security features could bring down your price.
- Flood risk - Your home could be prone to severe weather like flooding, which influences the cost.
- Your cover level - For example, you’ll pay more for our Platinum cover, but you’ll get wider protection.
- Taxes and government initiatives - Insurance Premium Tax (IPT) is a tax on insurance policies. Any changes to IPT and other government initiatives can change your price.
For more information, read our home insurance price explained guide.
Still have questions?
We’ve answered a bunch of your frequently asked questions.
Home Insurance FAQsRead more about home insurance

Award-winning cover
Admiral Platinum Home Insurance has achieved Defaqto's highest 5 Star Rating
Read more about our customers' experiences
We care what our customers have to say about us.
Optional extras
Upgrade your Home insurance policy with our optional extras to maximise your cover.
-
Family Legal Protection
Up to £100,000 of legal costs and expert advice
-
Home Emergency Cover
Arranges for a tradesperson to make your home safe and secure
-
Accidental Damage
Protection for accidental, damage to your building or contents
-
Personal Possessions
Up to £20k cover for items you wear or use outside of your home
-
Bicycle Cover
Protects you and your family's bicycles
-
High-Risk Items Cover
Extra protection for valuable items like jewellery and computers