If you need to put up curtains for the first time, it can be tempting to call a professional in. But it’s actually straightforward to do it yourself!
Watch our video guide below or if you'd prefer, scroll past it for a written guide.
How to measure your window for curtains
Use a measuring tape to get the height and width of your window - then it's time to do some research into curtains!
Curtains
For the width, you should buy curtains at least twice the width of the window, to make sure they're fully covered when closed and they fold when open.
For the height (aka ‘the drop’), the curtains can be anything from just above and below your window, to covering the entire wall. The longer the curtain, the bigger the room seems.
We recommend adding at least 5-10cm above the window for the curtain pole. Add more if the curtains hang down from rings rather than eyelets.
Curtain pole
Your curtain pole should be at least 10cm longer than your window width.
It may be better to go wider if the curtains are thick so they don’t block your windows when open.
How do I put up curtains?
There are a few different curtain types, but we’re going to look at how to put up curtains with eyelets or rings.
They’re the most user-friendly to install and suit any ceiling height.
What you’ll need
You'll need:
- a cordless drill with masonry drill bits
- protective goggles to wear while drilling
- pipe and cable detector
- spirit level, ideally 600mm
- tape measure
- pencil
- screwdriver
- screws
- wall plugs that are suitable for your wall type
You’ll also need curtains and a curtain pole, which may come with its own brackets.
How to install eyelet or ring curtains
1. If the curtains are going to be wider than about 120cm, you need a central bracket for extra support. Measure the window’s entire width to find the centre point. Mark this point with a pencil. Then measure the height you want above this centre mark and make a second one.
Using a spirit level, with the bubble in the centre, draw a short line through this mark. This line shows a level centre point at the right height, which is where you’ll fix the central bracket.
2. Before drilling, check the spot is free of wires or piping by using the detector. If it’s clear, put on your goggles, and drill a hole using the correct drill bit and pop in a plug, making sure it’s flush to the wall.
3. Screw in your bracket. Some brackets may need a second screw, so be sure to check the instructions.
4. Repeat steps one to three for the outer brackets, making sure you measure the edges for the brackets.
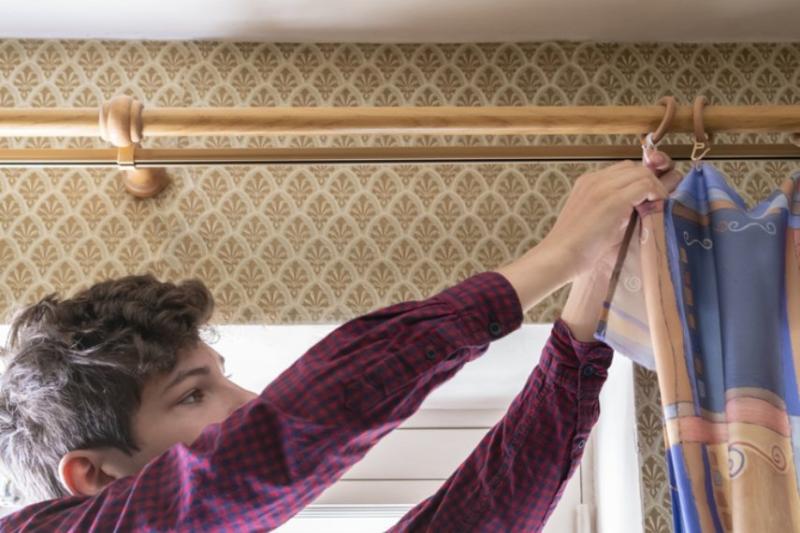
5. Finally, add your curtain to the pole and feed it through the rings or eyelets. The end eyelet sits outside the outer bracket and is kept in place by the ornamental end (the finial) of the pole.
If the pole is in two parts, repeat the process on the other side, and the poles meet in the middle.
Before securing them into place, make sure that the screw connecting the finial (the grub screw) is hidden from view.
Remember that the curtains you choose may vary. Always check with the instructions before getting stuck in.
Tick off your DIY wish list
If you’re spinning too many DIY plates, check out our home maintenance planner. Here you can compare the costs of hiring a pro against doing it yourself.
If you need some general home improvement advice, then read our tips for home maintenance.