We’re looking at how to put up three common types of shelves: floating, bracketed and adjustable.
Watch our video guide below to find out how to do it, or read on for our written guide.
Safety tips for putting up a shelf
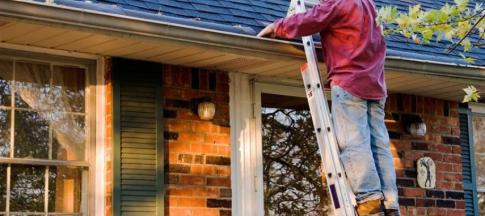
Use a 3-in-1 pipe, cable and stud detector before drilling any holes.
It lets you know if there’s a pipe or cable present and can help you find a stud to secure your shelf to for extra support.
Now you’ve got the safety stuff out of the way, let’s hang a shelf.
What you need
You’ll need:
- a drill
- protective goggles to wear while drilling
- 3-in-1 pipe, cable and stud detector
- spirit level
- tape measure
- masking tape
- pencil
- hammer
- screwdriver with correct drill bit for your wall
Don’t forget the most important thing, the shelf!
They normally come with brackets and screws. If you’re attaching the shelf to a masonry wall, you’ll also need wall plugs.
What type of wall can I put a shelf on
You can attach shelves to masonry walls or stud walls:
- Masonry wall: These are made of brick or concrete. This’ll give you a more secure shelf, but you’ll need a bit more elbow grease.
- Stud wall: You can attach the shelf to the timber studs (vertical) or noggins (horizontal), which you can find with the stud detector. Avoid attaching a shelf to the hollow sections, as it may not be strong enough to keep the shelf up.
How to get a strong shelf fix
Getting a strong shelf fit requires more than just effort. If you’re drilling into masonry walls, you should use 50mm screws and a good hammer-action drill with a masonry bit.
With stud walls, make sure the screw goes into the noggins or studs. The fussier you are here, the stronger your shelf will be.
If you need to mount a shelf to plasterboard without studs, you’ll need strong wall plugs specific for this type of wall.
We don’t recommend storing heavy objects on plasterboard walls as it isn’t as secure. We also recommend using a bracketed shelf for maximum safety.
You also need to consider what you’re putting on your shelves. Is it heavy? If so, try using stronger screws, around 38mm or 50mm in size. You should choose the heaviest screws your bracket can handle.
What type of shelf should I use?
The two most common types of wall-hung shelves are a bracketed shelf and a floating shelf. Whichever type you choose, always check the packaging for the maximum weight load.
With a bracketed shelf (also known as a fixed shelf), the supporting brackets are visible, usually below the shelf. A floating shelf’s brackets are hidden inside the shelf.
Your choice will depend on what you want your shelf to look like, but also consider what you’re putting on the shelf.
Although they look neater, floating shelves aren’t as strong as their bracketed counterparts.
They can generally hold 15-25 kg, while bracketed shelves can hold up to triple that depending on the bracket type.
More importantly, you need to choose the correct wall plugs for your wall type. If in doubt, speak to a staff member at your local DIY shop.
Adjustable shelves are becoming more common, so we’ll also cover how to put those up too.
How to put up a floating shelf
As floating shelves are less secure than bracketed ones, attaching your shelf to a masonry wall or directly into studs is important to keep it secure.
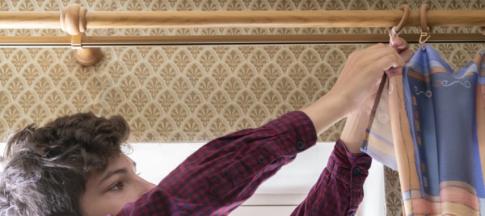
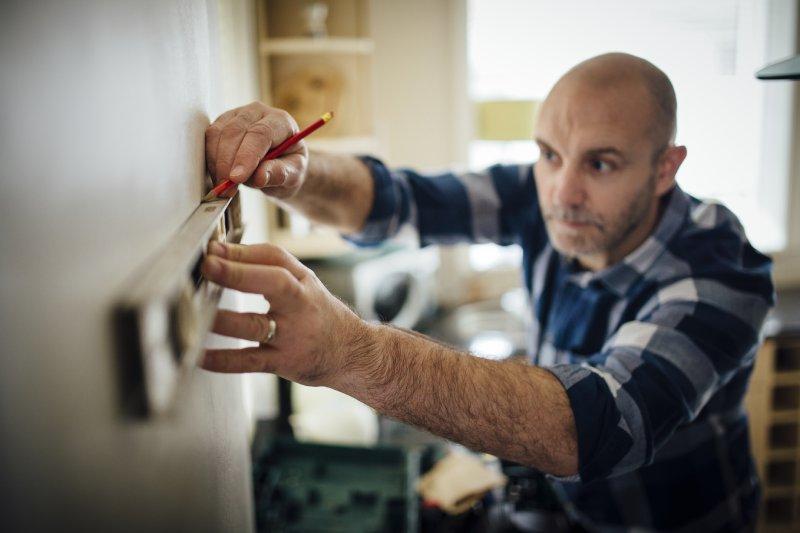
1. Once you’ve picked a spot – and checked for pipes and cables – put the metal bracket strip against the wall at your desired height, making sure it’s straight with a spirit level.
Mark the centre position and the securing holes on the wall with a pencil.
If there are any holes on the prongs, make sure they’re facing down so you can secure your shelf later on.
2. Work out how deep you’ll need to drill by lining up your drill bit with a wall plug. You can mark this length on the drill bit by attaching masking tape where you need to stop.
3. Put on your goggles and drill holes where you’ve made your marks, to the depth where you reach the masking tape.
4. If needed, tap your wall plugs into the holes and press them in so that they’re flush to the wall. You can hit the plugs lightly a hammer to help.
5. Use the screws provided to fasten the bracket into place, then slot the shelf onto the two bars sticking out from the brackets.
If your floating shelf has pre-drilled holes on the underside, you need to attach the screws to holes in the bar, and then cover the screws with the supplied caps or stickers for a seamless look.
How to put up a bracketed shelf
The process is very similar to the floating shelf, except the brackets are exposed, and take up more room beneath the shelf.
1. Pick a spot, check for pipes and cables, and put the first bracket against the wall at your desired height.
Use a spirit level to make sure it’s straight and mark the securing holes with a pencil from the top hole down.
2. Measure the distance to the next bracket. Make sure it’s straight with your spirit level and mark its position.
Then place the bracket in position, check it’s level, and again mark the holes from the top down.
3. Put on your goggles and drill holes where you’ve made your marks, to the depth where you reach the masking tape.
4. If needed, tap your wall plugs into the holes and press them in so that they’re flush to the wall. You can hit the plugs lightly a hammer to help.
5. With the screws provided, fasten the brackets into place. Check that they’re level one more time, before placing the shelf board on the brackets.
6. If your shelf kit has pre-marked holes on the bottom of the board, skip this step.
Use a tape measure to make sure that the board is centred – the measurement on either side of the brackets should be the same.
Mark where the screws will go on the shelf board with a pencil using the holes on the brackets.
7. Drill pilot holes in the shelf if they aren’t already in place, making sure you avoid going all the way through the board. Screw in the fixing screws and your new shelf is ready to decorate.
How to put up adjustable shelves
1. As mentioned above, ensure there are no pipes or wires in the shelving area.
2. Use a spirit level to draw a line down the wall where the first track of the frame is positioned. Measure and do the same for the second. The instructions should inform you of the distance needed.
3. Drill through the fixing holes and loosely fit the screws. Mark each fixing hole and secure the screws well, checking the bracket is straight with a spirit level.
4. Grab your shelf and mark the drilling points. Drill the holes, as per manufacturer instructions, place the shelf and turn the screws with a screwdriver.
5. With your bracket and shelves secured, you should now be able to slot in any additions. Always refer to manufacturer instructions.
More DIY tips
Try out our home maintenance planner. You can compare the costs of hiring a professional, make a checklist and discover your next DIY project.
Need more home improvement advice? Then read more DIY tips for home maintenance.