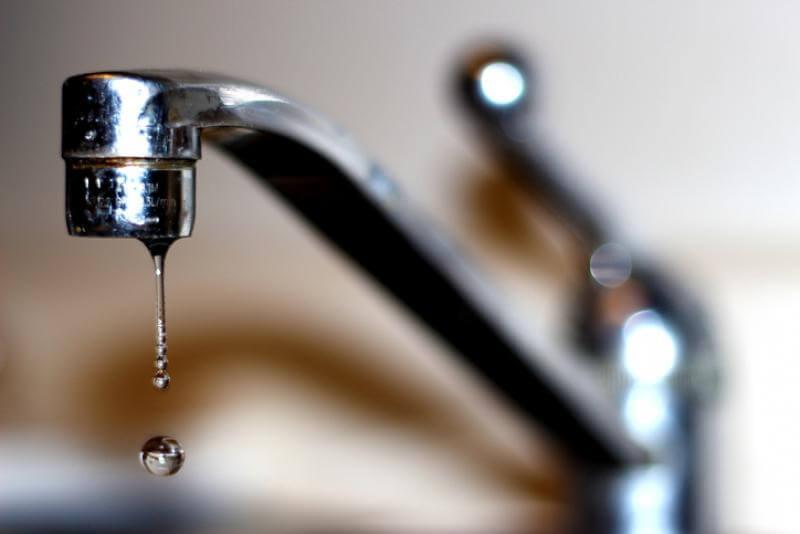
A dripping tap isn’t just irritating, it’s wasteful and can become very expensive – both in your water bill and if the leak gets out of hand and causes damage to your home.
So, if you’ve not got around to fixing those leaky taps, here’s an easy step-by-step guide to sorting it out – it’s an easy job you can do yourself.
Before you start your repair, you’ll need to know which type of tap you have in order to replace the right part.
What type of tap do I have?
There are generally two types of tap:
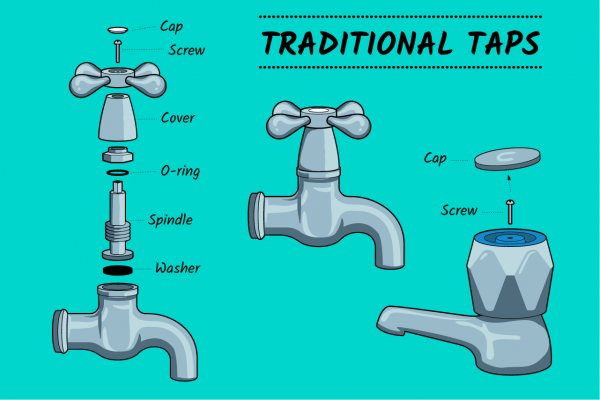
- Traditional taps (turns on by turning the handle multiple times)
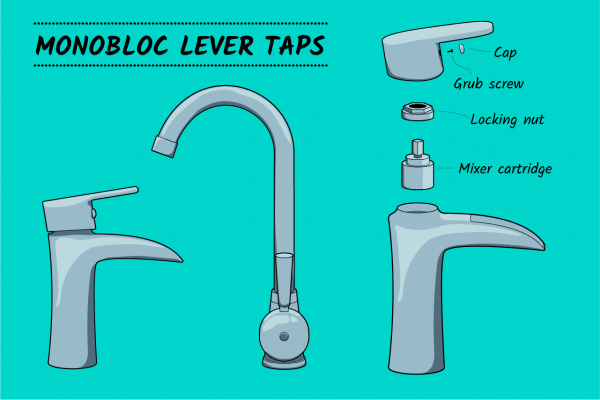
- Monobloc lever taps (often a single handle that only rotates/lifts a quarter or half turn).
Traditional taps leak due to perished rubber seals or washers while monobloc lever taps use a ceramic cartridge instead of a washer and will occasionally need replacing.
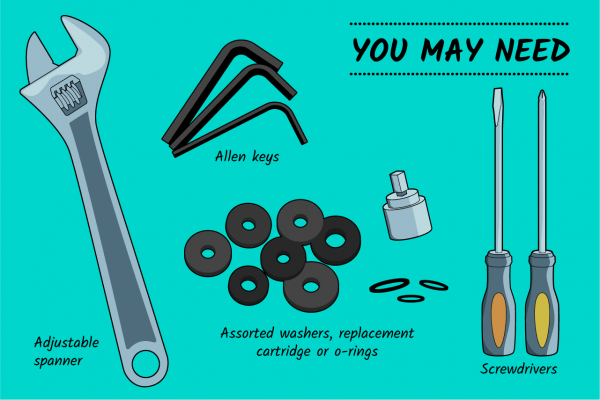
Tools needed to fix a dripping tap
- Adjustable spanner
- Slot or cross-head screwdriver
- Small Allen key
- Assorted washers, replacement cartridge or assorted washers and O-rings
Before you start
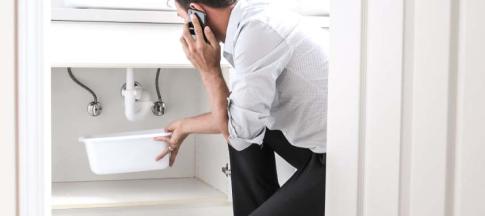
- Before you fix the leak, turn off the water supply using the stopcock (this is quite often found near the water supply pipes under the kitchen sink)
- Once the water supply is off, turn on the tap to release any water left at the top of the pipe
- Put the plug in the sink
1. Find the screw inside the handle
You need to take the tap apart to repair it, so you’ll need to find the screw holding it together. On traditional taps it’s normally underneath the decorative hot/cold cap on top of the handles, while in a lever tap it’s often a tiny screw hidden under the hot and cold indicator.
These can often be unscrewed by hand, or by using a screwdriver or Allen key.
2. Taking apart the tap
Once the screw’s out, you’ll need to take the handle off. Underneath you may find a metal cover (called a metal shroud) around the neck of the tap that’s protecting the valve, if you’ve got that, take it off as well.
3. Undo the nut
Once the shroud’s out, you should be able to see a hexagonal nut – you’ll need to undo this using an adjustable spanner. Hold the spout (the bit the water comes out) while you undo the nut to stop the tap from twisting.
Lift out the tap stem and replace the washer underneath with a new one (you can buy a packet of different washers at hardware stores for relatively little money). For lever taps, it’s at this point you’ll replace the cartridge.
4. Clean and reassemble
Make sure the main body of the tap and all the parts are clean before you put the tap back together. Turn the water back on at the stopcock and test out your handiwork.
Take a look at our home maintenance planner to see if it's worth paying a pro or doing the odd jobs around your home yourself